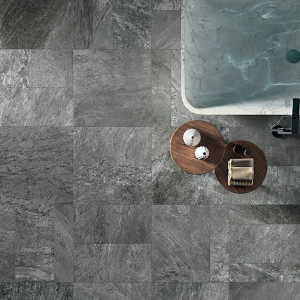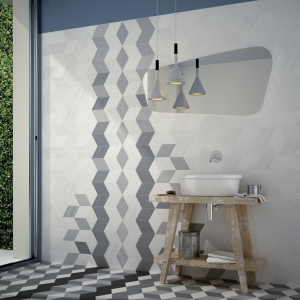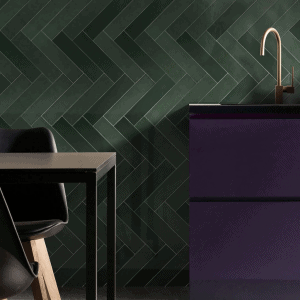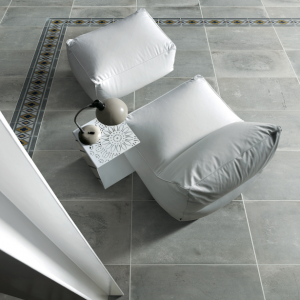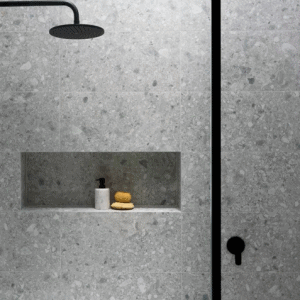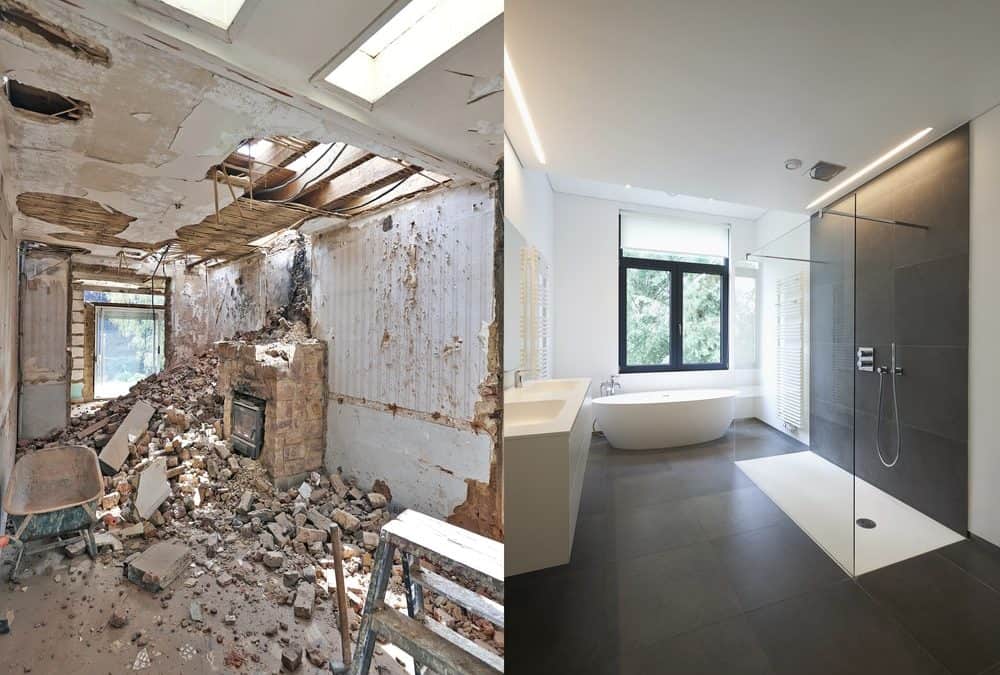
A brilliant way to transform a space in your home is to take on a DIY tiling project. Regardless of whether you are a seasoned home tiler, or this is your first time, we have all the information you will need to complete a successful DIY tile project, from preparing the area, to tiling tools and materials needed to install tiles.
A list of DIY tiling tools!
To get started on a new DIY tiling project you’ll need various tiling tools. Whether you are giving a makeover to your bathroom, kitchen, bedroom, or office space with new wall or floor tiles, here is a handy list of materials needed to install tiles in your chosen area.
- Pencil
- Tape measure
- Spirit level
- String
- Rags and sponges
- Bucket
- Paint brush
- Tile nippers
- Tile cutter
- Tile jack (if tiling walls)
- Adhesive mixture
- Cross spacers
- Notched trowel (10mm for floors, 6mm for walls)
- Small gauging trowel
- A grouter, or grout float
- Drill and drill bit
How to prepare the surface
The first step to beginning a DIY tile project is give the area a thorough clean. This includes removing any existing coatings that may have been applied to the surface previously, as well as smoothing it out to an even layer in order to prepare the surface for new tiles. There is no point carefully selecting the right materials needed to install tiles if the surface is not correctly cleaned and prepared!
Make sure you grout evenly
An essential part of ensuring a smooth and professional looking finish to your tile project is to work calmly and carefully when applying the grouting. Spread the grout evenly and use a support tool like a sponge or squeegee, without working too fast. If you grout a large area in one go it can dry before you install the tile, resulting in an uneven finish, and making it hard for you to remove excess grout as you work.
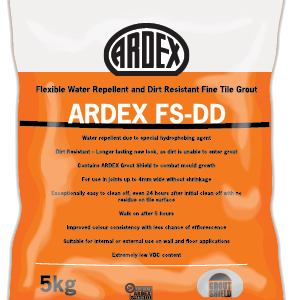
Choose the right adhesive
It is essential that you select the correct adhesive for the area that you are working in. Humid rooms like bathrooms, pools, and sometimes even small kitchens, require a waterproof adhesive that won’t crumble or break when soaked in water or subjected to damp conditions. Even the most well-fitted tiles can sometimes let water in, so be sure to work with the right adhesive for your space when purchasing your tiling tools, to ensure long-lasting and secure tiles.
Why Choose Tile Clearance Outlet
Completing a professional looking DIY tiling project can be done by even a complete amatuer as long as you follow the above guidelines carefully. A top tip is to remove excess grout as you work, before it dries, as well as ensuring you order the right amount of tiles, something we outline how to calculate correctly in one of our blogs. It’s a cinch to order amazing cheap tiles online for your next tiling project, and the wide selection at our discounted tile warehouse truly has something for everyone. There’s no need to pay extra for tiles from a fancy showroom, simply browse our high quality clearance items on our online store. Contact us here with any queries, and be sure to check out our other blogs with top tips on how to complete a successful DIY tiling project.